How Do You Create a Community in a Brand Control Center?
Overview
Use this guide when you’re ready to launch a new Community inside your Community Media Network.
A Community is a structured space where members with shared interests connect, engage, and contribute. Whether it’s skincare, fitness, technology, or product education, Communities help you organize conversations around focused themes, while maintaining governance inside the Brand Control Center.
Creating Communities intentionally ensures your network grows with clarity, not chaos.
What You’ll Do
- Create a new Community space
- Define its purpose and visibility
- Configure participation rules
- Prepare it for member engagement
What Is a Community?
A Community is a top-level space inside your network.
It brings together members around a shared interest or objective. For example:
- A skincare Community for product education and tutorials
- A fitness Community for routines and transformations
- A commerce-focused Community for product discovery
Once created, you can invite members, enable Group creation, and begin building structured engagement.
Create a New Community
Who this is for
Brands, retailers, and publishers structuring engagement inside their network.
What this step does
Defines the thematic foundation for conversations and content.
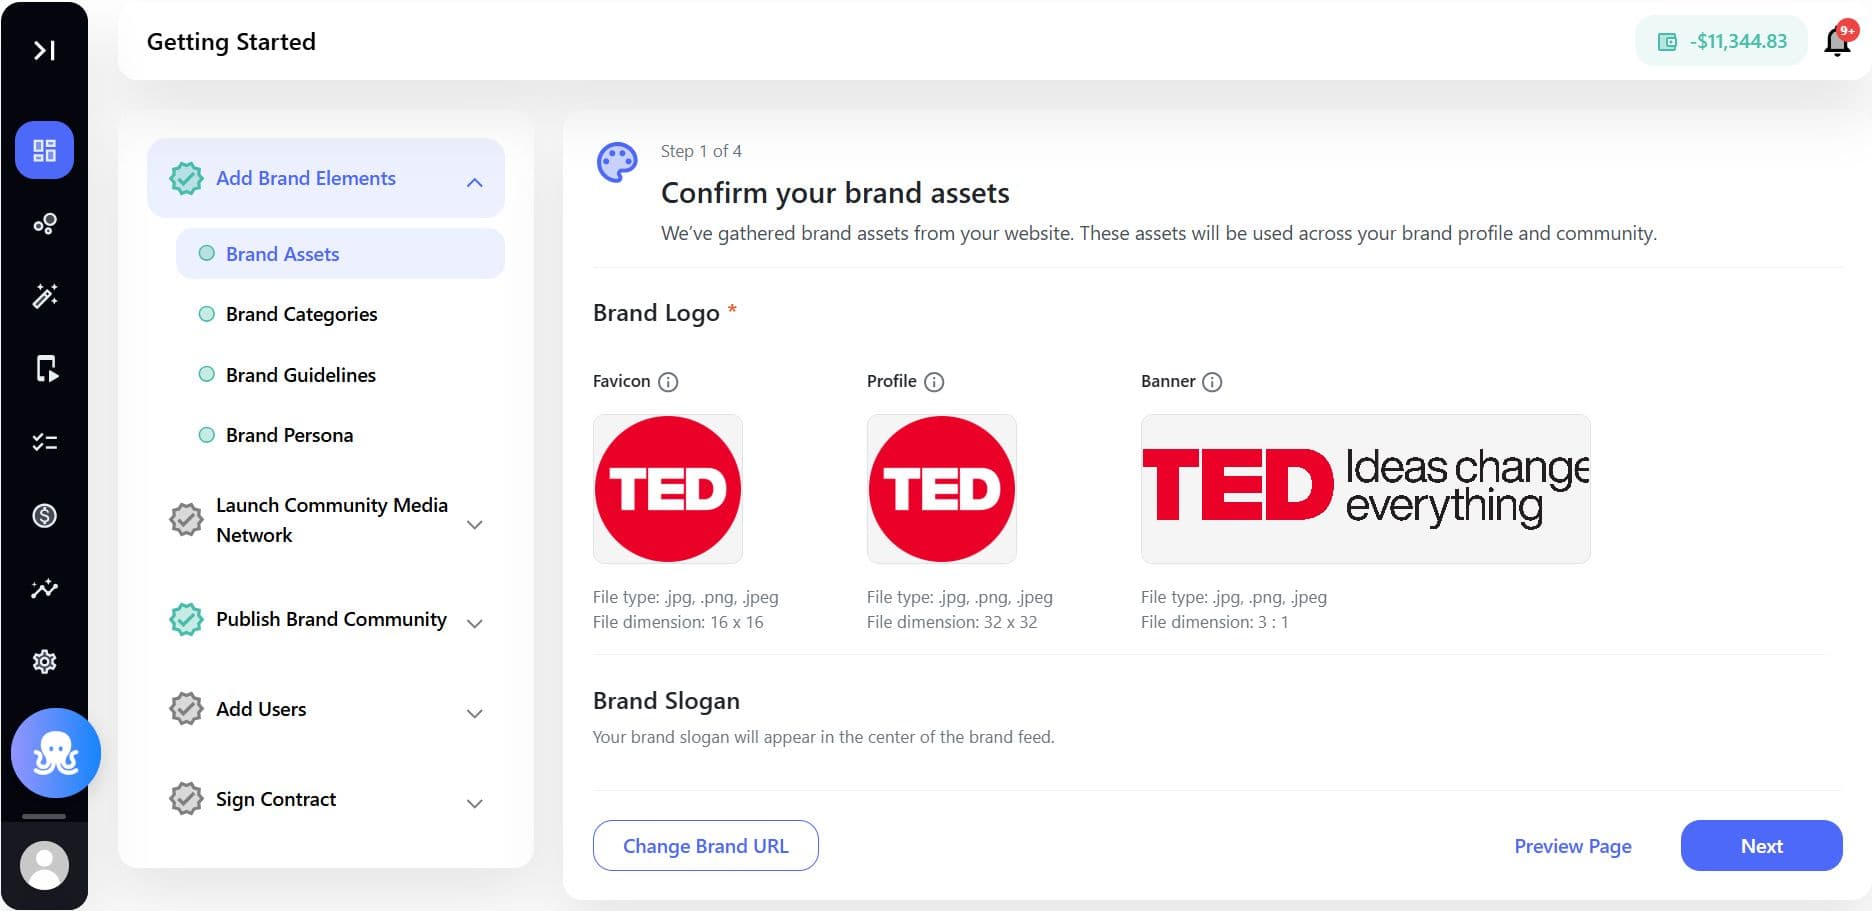
Step 1 - Log in to Brand Control Center
Access your dashboard using your account credentials.
Step 2 - Navigate to Community Management
From the main navigation, go to:
Manage > Communities
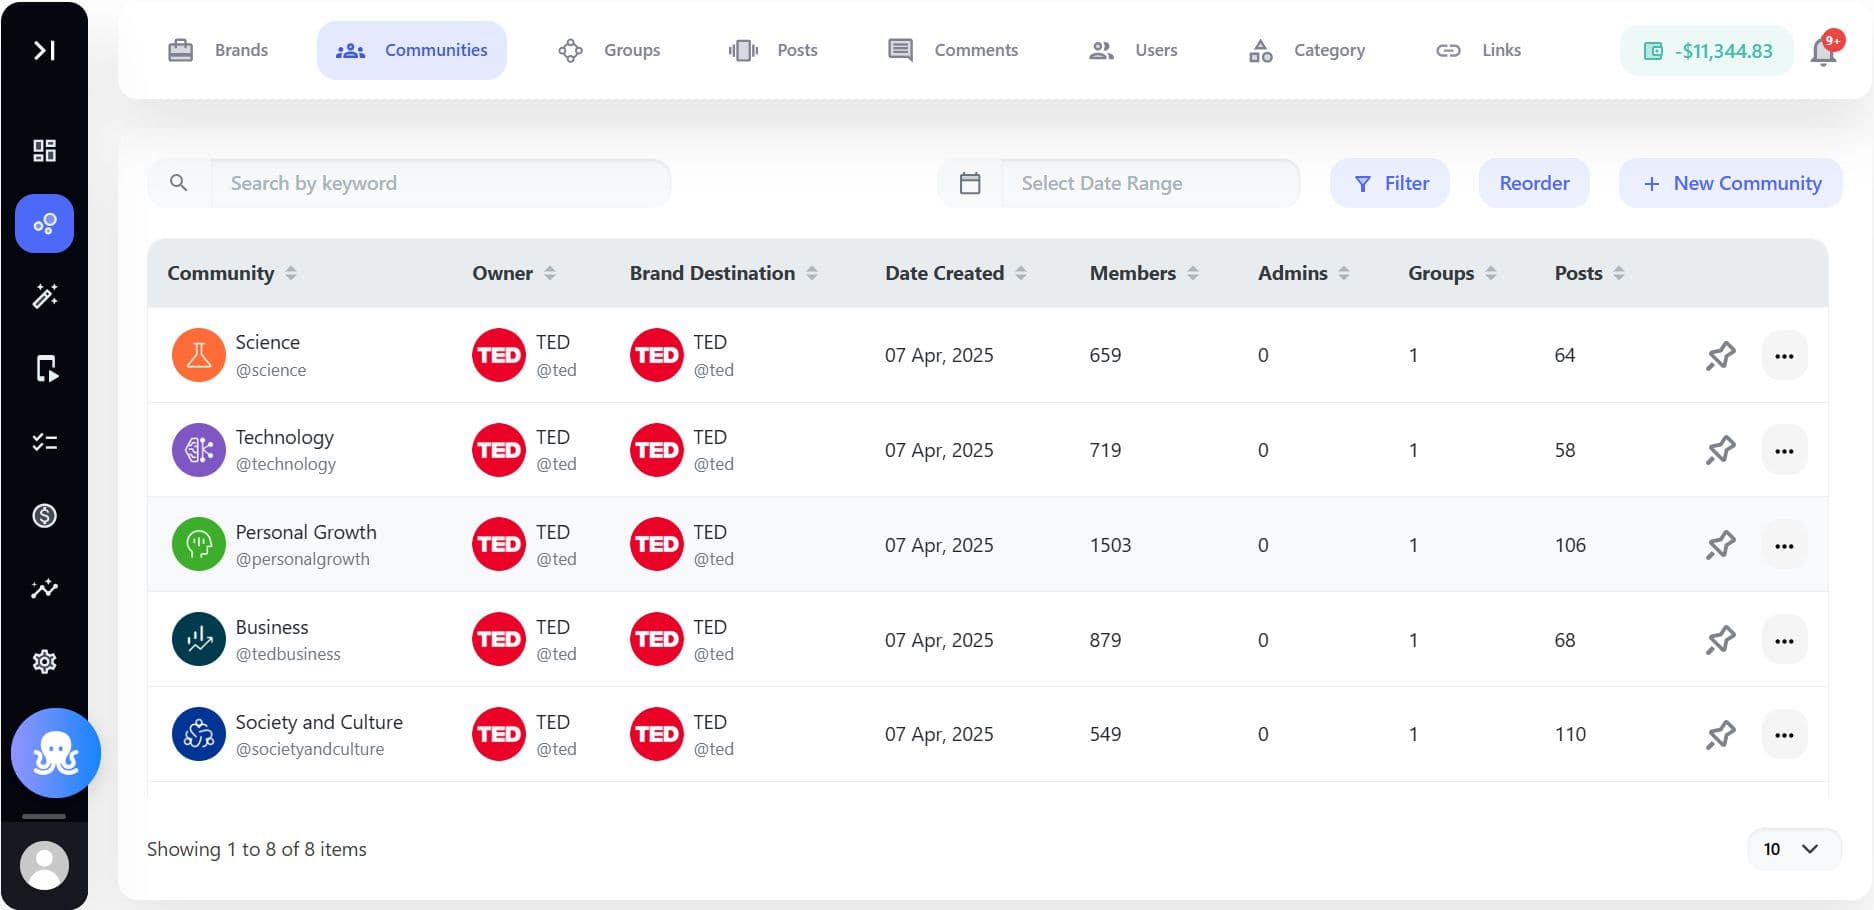
This section displays all existing Communities within your network.
Step 3 - Click “+ New Community”
Select + New Community to begin setup.
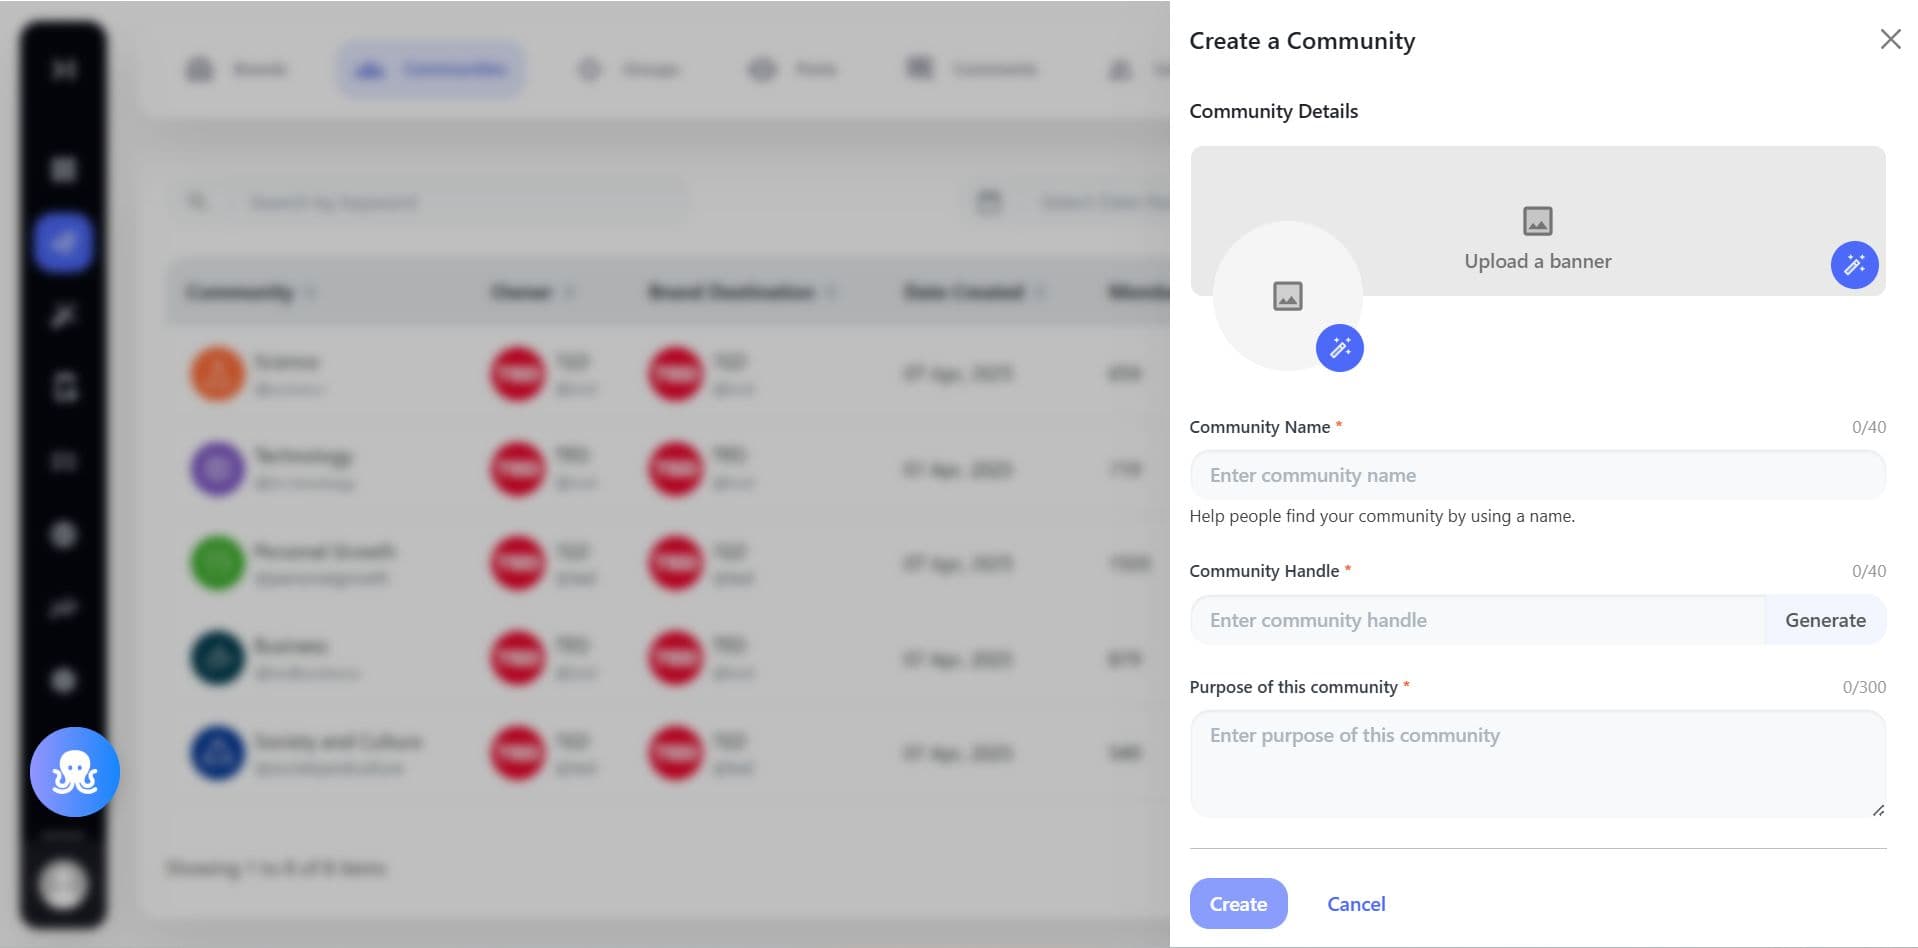
Configure Community Details
You’ll now define the structure and identity of your Community.
Upload Banner / Community Image
Add:
- A banner image
- A community profile image
These visuals help members instantly understand the theme and tone.
Enter Community Name
Choose a clear, descriptive name.
This is how the Community will appear across your network.
Set Community Handle
Define a unique handle for internal identification and URL mapping.
Keep it simple and aligned with the Community theme.
Define the Purpose
Clearly describe:
- What this Community is about
- Who it’s for
- What members can expect
A well-defined purpose improves member engagement and reduces confusion.
Select Community Type
Choose between:
- Public - Visible and accessible to all users
- Private - Restricted access
This decision impacts visibility and participation scale.
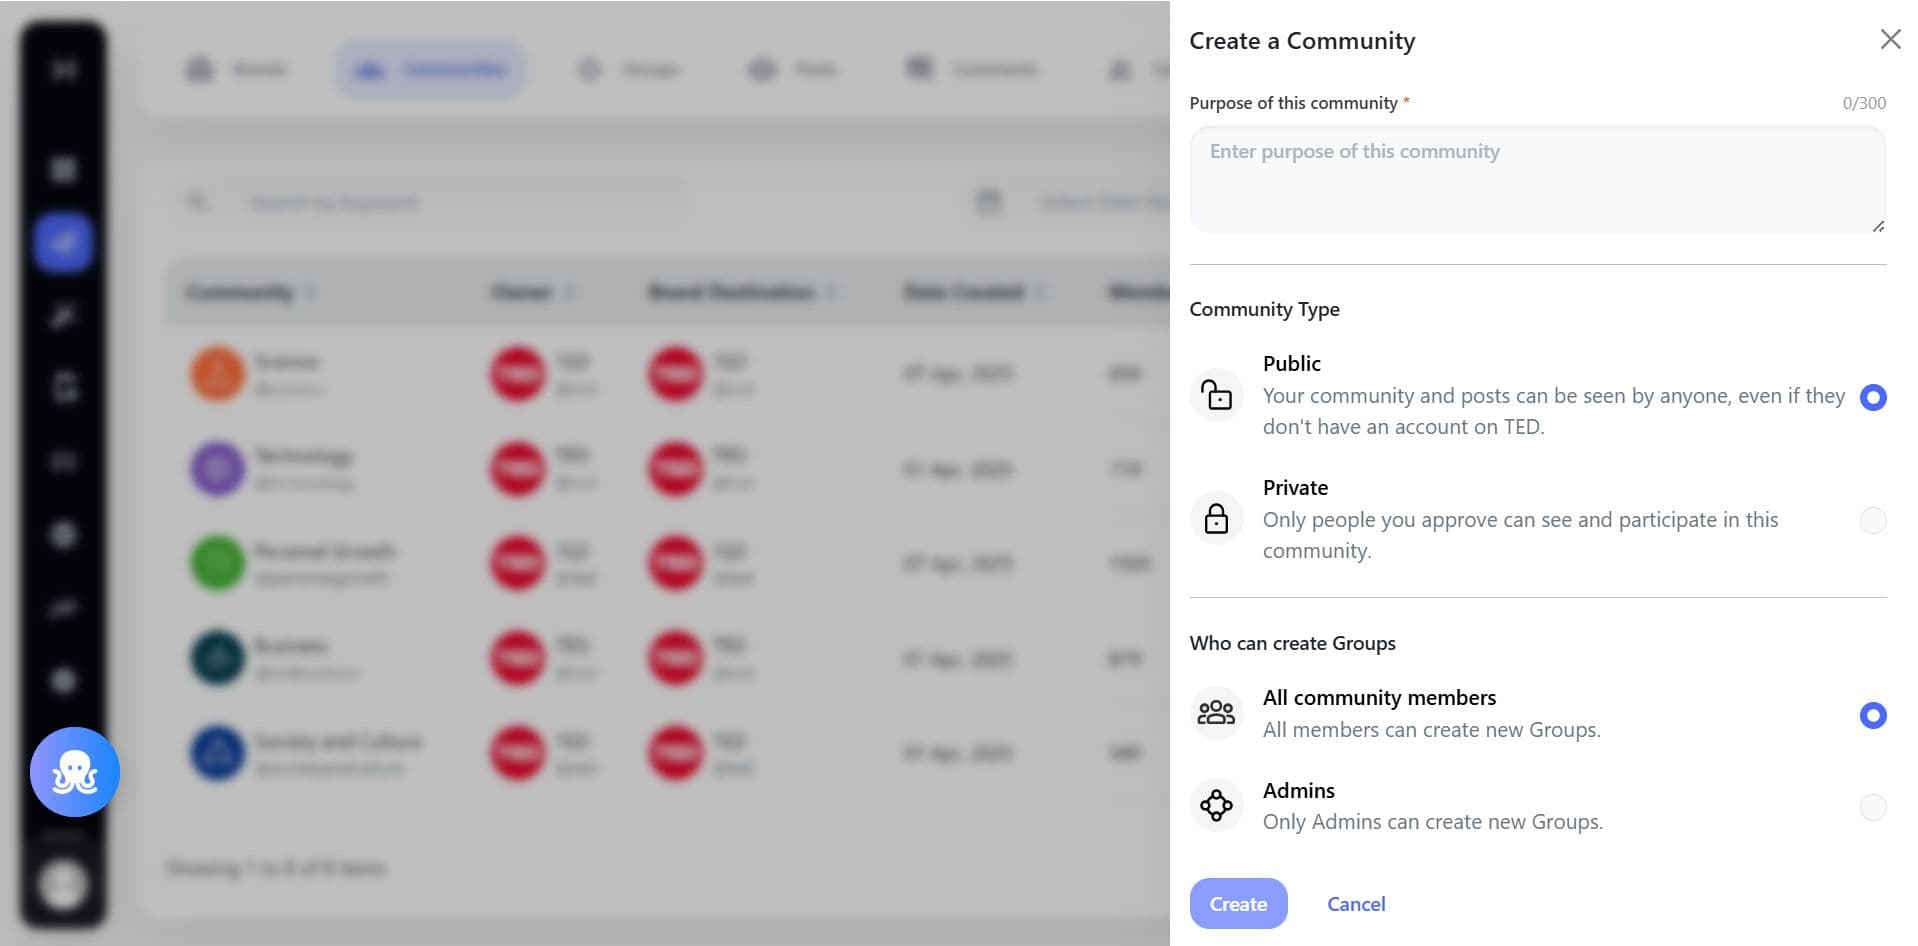
Configure Group Creation Rights
Decide who can create Groups within this Community.
Options typically include:
- Admin only
- All Community Members
This ensures the right balance between openness and governance.
Finalize Setup
Click Create to launch your Community.
Once created, it becomes available for member invitations, content posting, and Group creation.
Why Creating Communities Strategically Matters
A Community is not just a content container.
It:
- Structures conversations around focused themes
- Encourages repeat engagement
- Builds topic-based loyalty
- Enables scalable moderation
- Supports commerce-driven engagement
When Communities are clearly defined, your network feels organized and intentional, not fragmented.
What Happens Next?
After creating a Community, you can:
- Create Groups within it
- Invite members
- Assign Moderators or Creators
- Start publishing content
- Enable white-label visibility (if configured)
Communities are the foundation of structured engagement. Build them with clarity and your network will scale with purpose.
